Warning
The documentation here may not directly apply to your version of Flight, locate your version of Flight here
Launching on OpenStack
Alces Flight Compute Solo can be launched on your local OpenStack private cloud platform to give you access to your own, private HPC cluster using your on-premise infrastructure. As different clouds can run different configurations of OpenStack modules, you may need to build images for Flight Compute that suit your platform. A number of OpenStack services are required in order to support a Flight Compute environemnt - please contact Alces to purchase consultancy time to prepare your OpenStack platform and build Flight images for you.
Prerequisites
- An Alces Flight image for your platform
- An OpenStack user account
- A client machine from which to access your compute cluster
- An appropriate resource quota to create the number of compute nodes you choose
- An OpenStack keypair added for your user
How to deploy
- Log in to the OpenStack Horizon interface with your site credentials
- Navigate to the Project -> Orchestration -> Stacks page
- Select the Launch Stack button
- When prompted for the Template Source, select URL and enter the link provided by Alces during your OpenStack environment setup. An example configuration template is available at the following URL:
https://raw.githubusercontent.com/alces-software/flight-appliance-support/master/openstack-heat/templates/flight-compute.yaml
- Click the
Nextbutton to continue
How to answer Heat Stack questions
- The Stack Name should be entered with a suitable stack name, this is a unique name within the OpenStack environment and also defines your cluster name
- In the Creation Timeout field - a sensible time in minutes should be entered, this stops stack creation after a certain time if the OpenStack environment is too busy to create your resources
- In the Password for user field - enter your OpenStack password for the user you are currently logged in as
- In the Cluster admin key - select your previously created OpenStack key pair, this is used to log in to the cluster administrator account
- In the Administrator username field, enter your chosen administrator username such as
alces- In the Flight Compute image field, select the Flight Compute image you wish to use - we recommend the latest possible version installed on your system
- Select the compute node type you wish to deploy from the Compute node instance type field
- In the Number of compute nodes field, enter the number of compute nodes you wish to initially deploy. Note - sufficient resource quota must be available in order to launch the nodes
Accessing your cluster
Once your cluster has been launched, the login node will be accessible via SSH. Your login node’s access IP address is reported by the OpenStack Heat, along with the username you must use to login with your keypair.
From the Overview tab of your stack, make a note of the cluster master node public IP address displayed, e.g. 10.77.0.100
To access the cluster login node from a Linux or Mac client, use the following command:
ssh -i mypublickey.pub myadminusername@10.77.0.100
- Where:
mypublickey.pubis the name of your public SSH key you selected when launching the clustermyadminusernameis the username you entered when launching the cluster10.77.0.100is the IP address displayed in the Outputs tab of your Heat stack
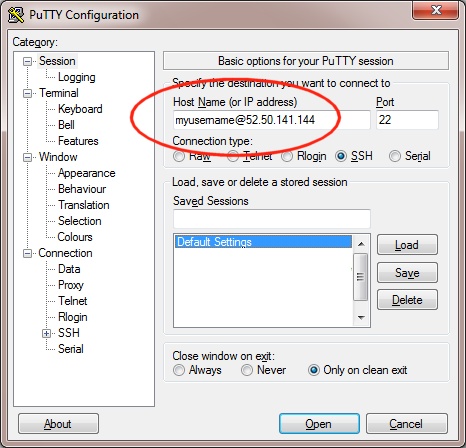
If you are accessing from a Windows client using the Putty utility, enter the username and IP address of the cluster login node in the “Host Name” box provided:
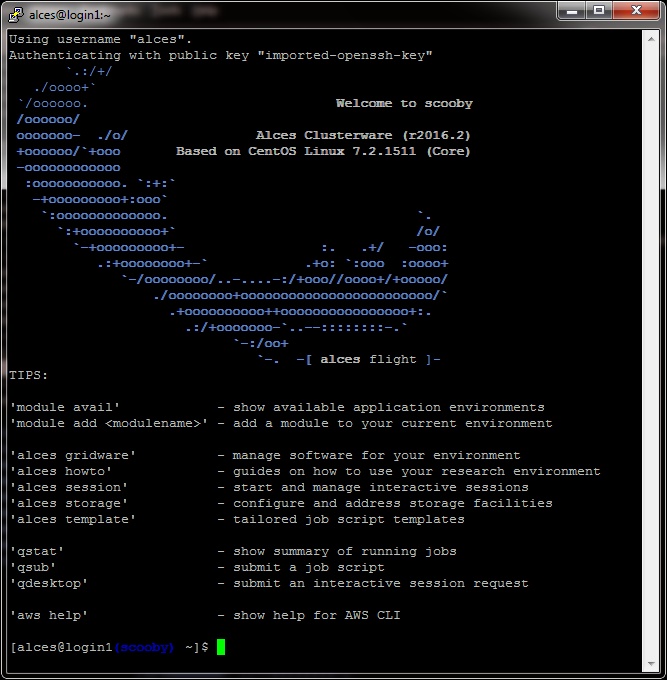
The first time you connect to your cluster, you will be prompted to accept a new server SSH hostkey. This happens because you’ve never logged in to your cluster before - it should only happen the first time you login; click OK to accept the warning. Once connected to the cluster, you should be logged in to the cluster login node as your user.
Terminating your environment
When you terminate your environment, your cluster login and compute nodes will be terminated. Any data held on attached storage may be erased, with storage volumes being wiped and returned to the shared pool. Ensure that you have downloaded data that you want to keep to your client machine, or stored in safely in an object storage service before terminating your cluster.
- From the
Stackspage, select your previously created Alces Flight Compute stack - then selectDelete Stacks